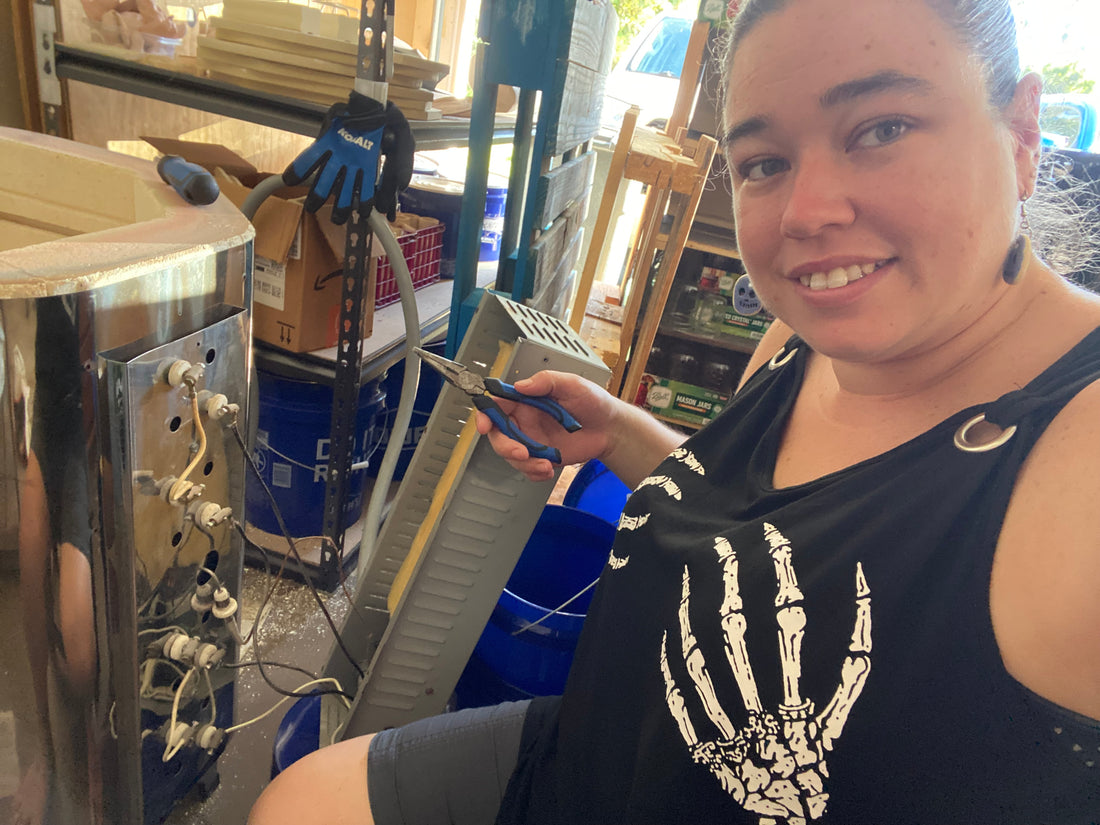
Finally up and running
Share
Yesterday I finally got to replace my kiln elements. Make sure power is off, turn off breaker AND unplug kiln. “Not today electricity!” The project was fairly simple, take the control panel off, remove old connections, remove insulators, pull out old elements, seat new elements into their respective grooves, snip off extra length of wires after re-attaching connectors and then put the cover back on. First struggle was finding a bit that would allow me to remove the screws holding the panel on. Second struggle was after I stripped that bit going to fast. Then, I had to find ANOTHER one. Ask hubby to come help find that one…second time to the garage to help me. Get panel off and start unhooking things."Don’t mess up, don’t cross wires. Make sure it’s all EXACTLY the same when you put it back.” THINK!!! Take a video so you don’t forget anything. Remember you’re terrified of electricity and doing work on electrical components and there are wires and relays and transistors I think? Check that the plug is still on the floor nowhere near the receptacle. Go inside to cool off because it’s summertime in Florida and you’re in a garage with NO fans and you’re literally dripping sweat. Re-read the manual for the hundredth time while in the AC to make sure you know what you’re planning when you get back out into the heat. Check to make sure kiln is still unplugged. Begin removing pieces to the top element and take extensive notes about placement, and another video, and several photos, then draw where wires connect in sharpie on the kiln itself because it’ll help next time and they can’t be seen with the cover on. Start dripping sweat again. Go inside to cool off. Finish putting the first element in and hooking it up. Only three more to go. Drink more water. Go back outside once you start shivering from the combo of dripping sweat and AC inside. Take a video of you removing and replacing the second one. Time on video was under 10 mins. Feel guilty that you’re only outside for 10-15 mins at a time. Remember it’s HOT OUTSIDE and you deserve breaks to keep from overheating. Back inside to cool off. Grab a towel and start drying off because you’re leaving puddles as you walk now. Outside for the last two elements. Make sure you have the right one in the right spot because top and bottom are the same as each other, but the middle two are different (same as each other, but not same as top and bottom). The lower you end up in the kiln the more limited your space feels. Imagine bending into your top load washing machine and having to push things around on the bottom. That’s similar size and depth to my kiln. Cool off again. Finally get the last pieces replaced and start snipping excess length from your elements so they don’t interfere with the control panel/cover. Ask hubby for help finding the tool you need. Make sure kiln is still unplugged. Learn you don’t have the hand strength you originally thought you had. Struggle to get them all snipped. Go cool off again. Return to the sweatshop that is your garage and check that you’ve put everything on the way to came off. Check to make sure kiln is still unplugged. Put the control cover back on while your 5 year old asks a million questions about nothing and refuses to help you when you drop a screw. Don’t yell at the kid! Breathe. Finally plug the kiln in. Turn the breaker back on. Cry happy tears when everything comes on the way it’s supposed to. Begin a firing with the kiln empty to condition the elements. Pray you put everything back right so you don’t burn down the house. Check the power cord and outlet for heat. Continually babysit the kiln all afternoon, evening and night. Shower because you’re more sweat than skin any more. Get up and load the kiln with all the wares that have been piling up over the past month you’ve been waiting for parts to fix the kiln. Realize you forgot to put in new relays and that you only have one of the two you wanted to replace. Guess we’ll have another project in the next week or so when the last part comes in.
